¶ Delivery Note
A Delivery Note is a document used in Business transactions to verify that a Customer has received the product ordered. It contains information about the goods delivered. Delivery Note helps as a supporting document during a shipment of goods. Hence, whenever we deliver the goods it is important to create a Delivery Note before the start of such shipment.
¶ Comprehensive Guide to Create / modify a Delivery Note
Access Delivery Note from Home > Stock > Stock Transaction > Delivery Note
¶ STEP I : Navigating to Delivery Note
Go to the “STOCK” module then Click “STOCK TRANSACTION” Then Click “DELIVERY NOTE”

¶ Alternately
Use Shortcut “CTRL + G” or navigate to the search box. Type “DELIVERY NOTE” and click on “DELIVERY NOTE LIST” to open.

¶ STEP II : List View
In the “DELIVERY NOTE LIST” you may find a list of all the delivery notes created by your Organization.
Search if you wish to edit an existing Delivery Note by “NAME” “TITLE” “CUSTOMER” etc.
¶ STEP III : Add New Delivery Note
Click the “+” button in the corner to start creating a new Delivery Note.

¶ STEP IV : Add Required Information
Add all the Necessary Information about the delivery.

¶ STEP V : Save & Permanently Submit
Click the “TICK” icon to save all changes.
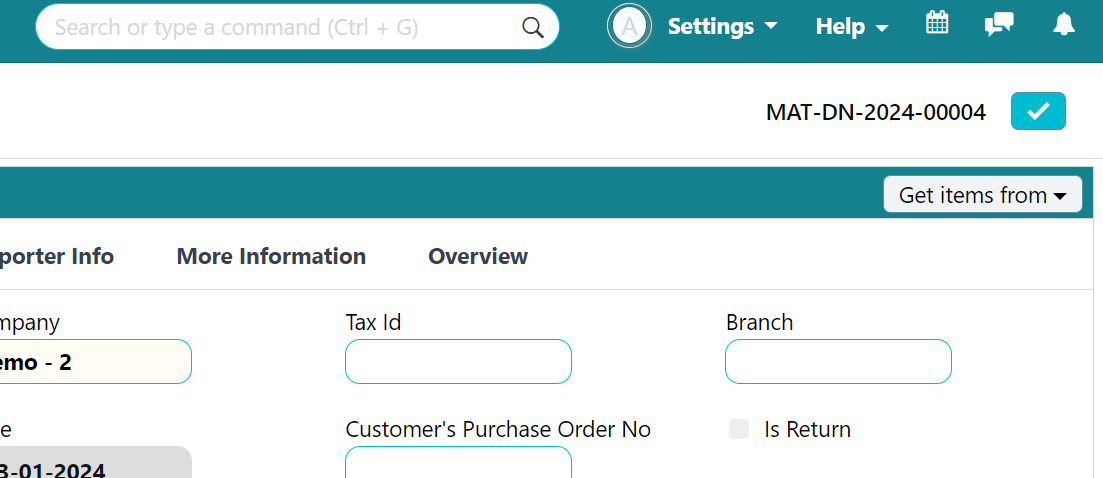
Note: the document is currently in draft mode.
To permanently save and modify your books of accounts, click the “LOCK” button.
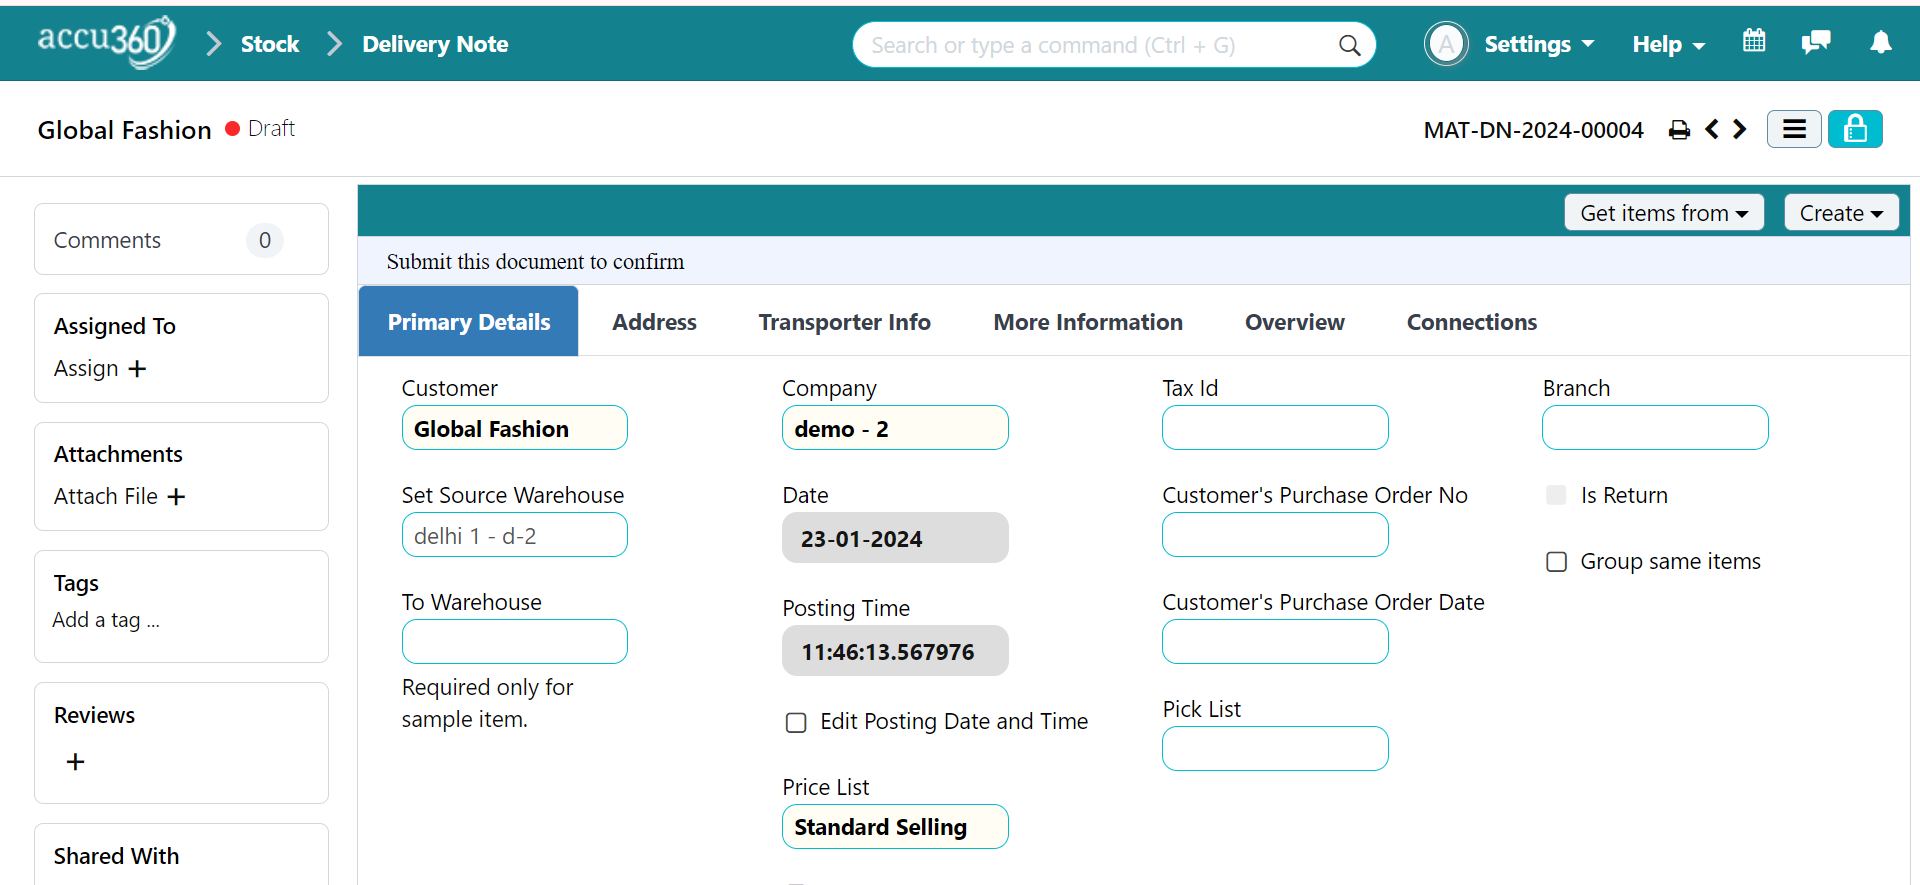
After clicking on “LOCK” button a prompt “SAVED” as well as “DELIVERY NOTE SUBMITTED SUCCESSFULLY” will appear
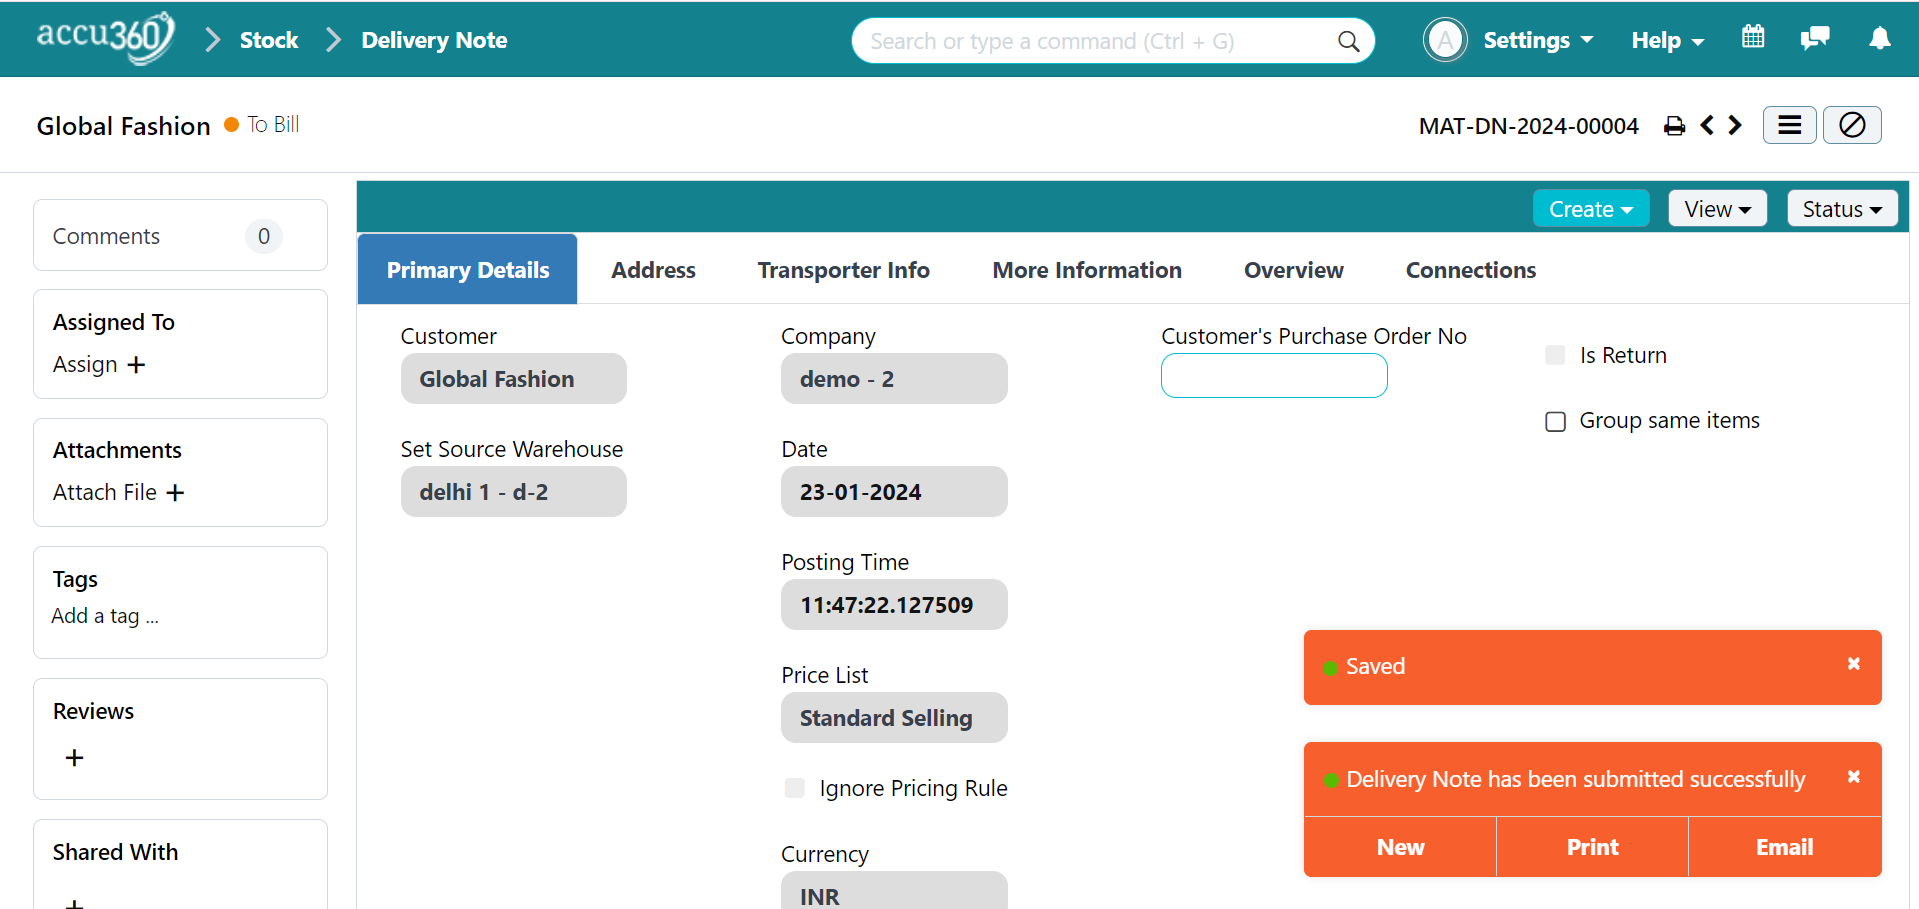
You can also click “EMAIL” to directly mail someone, “PRINT” to take a print Or jump to a “NEW” Delivery Note
¶ In Case of an Existing Sales Order
ACCU 360 ERP is a powerful ERP software which equips seamless connections between various departments within the organization. So, if the Sales Department has already generated a SALES ORDER regarding the goods to be delivered you don’t need to do this whole of creating the Delivery Note again.
Acess Delivery Note from Home > Stock > Stock Transaction > Delivery Note
¶ STEP I : Add a New Delivery Note
Click the “+” button in the corner to start creating a new Delivery Note in “DELIVERY NOTE LIST” .

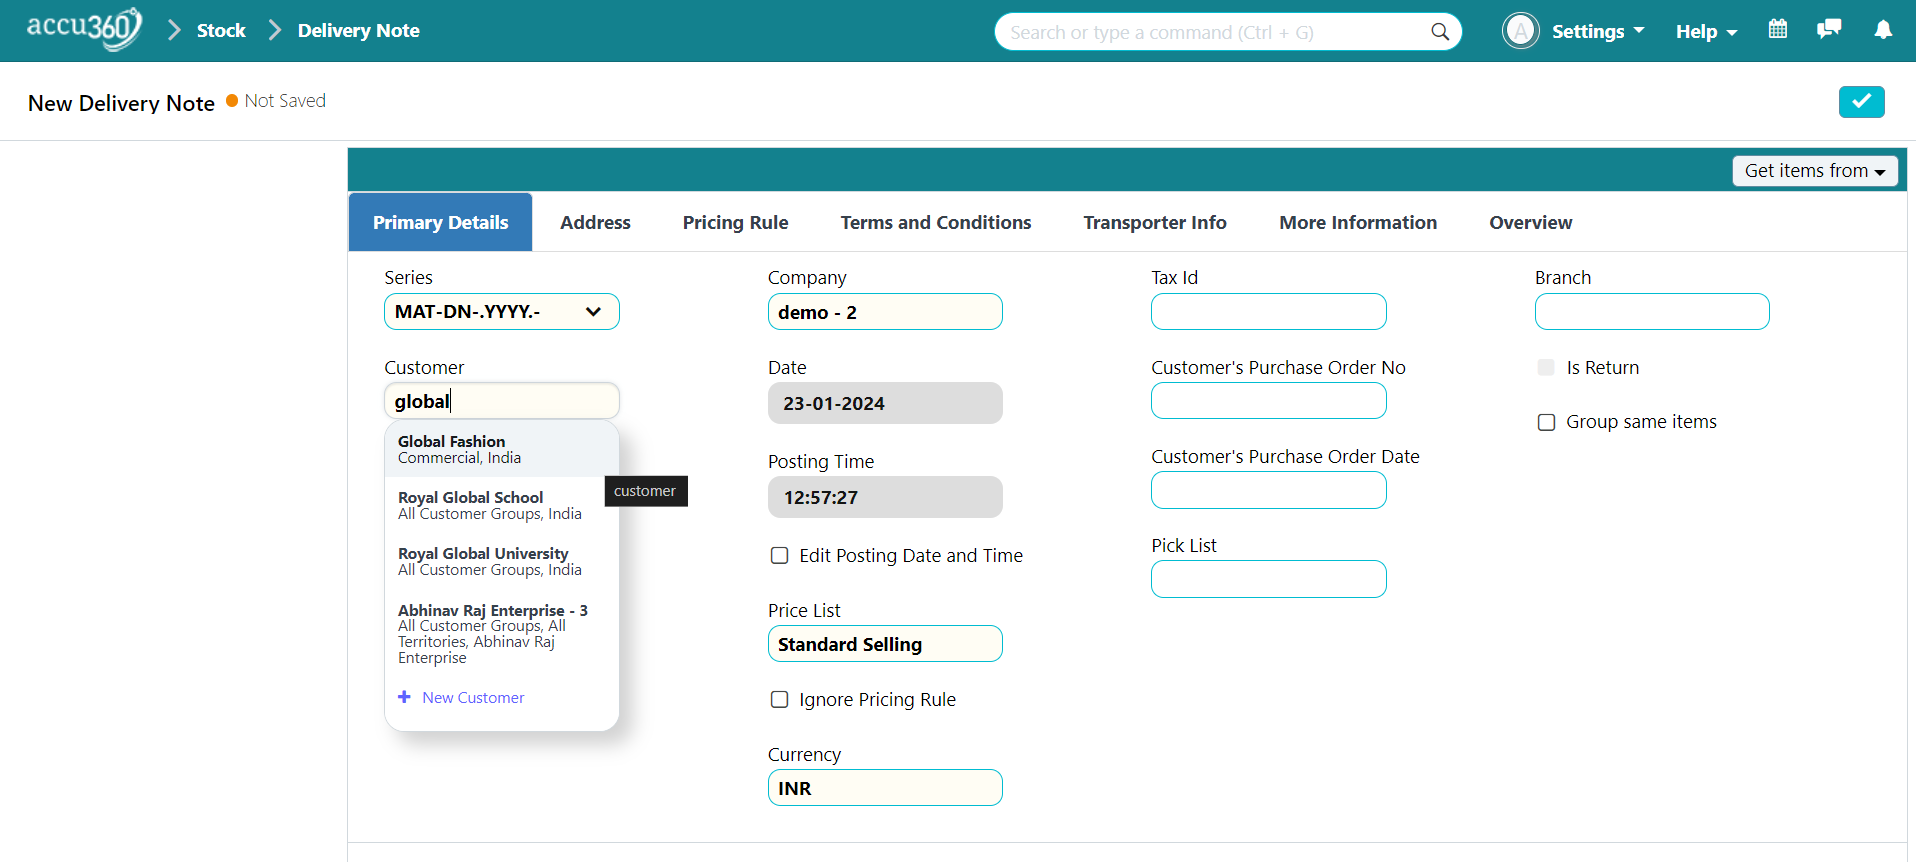
¶ STEP II : Select Customer
Choose the customer associated with the Sales Order for which you want to generate a Delivery Note.
¶ STEP III : Sales Order Selection
Click on “GET ITEMS FROM” to retrieve all the SALES ORDER associated with that CUSTOMER. Select the SALES ORDER & click “GET ITMS”
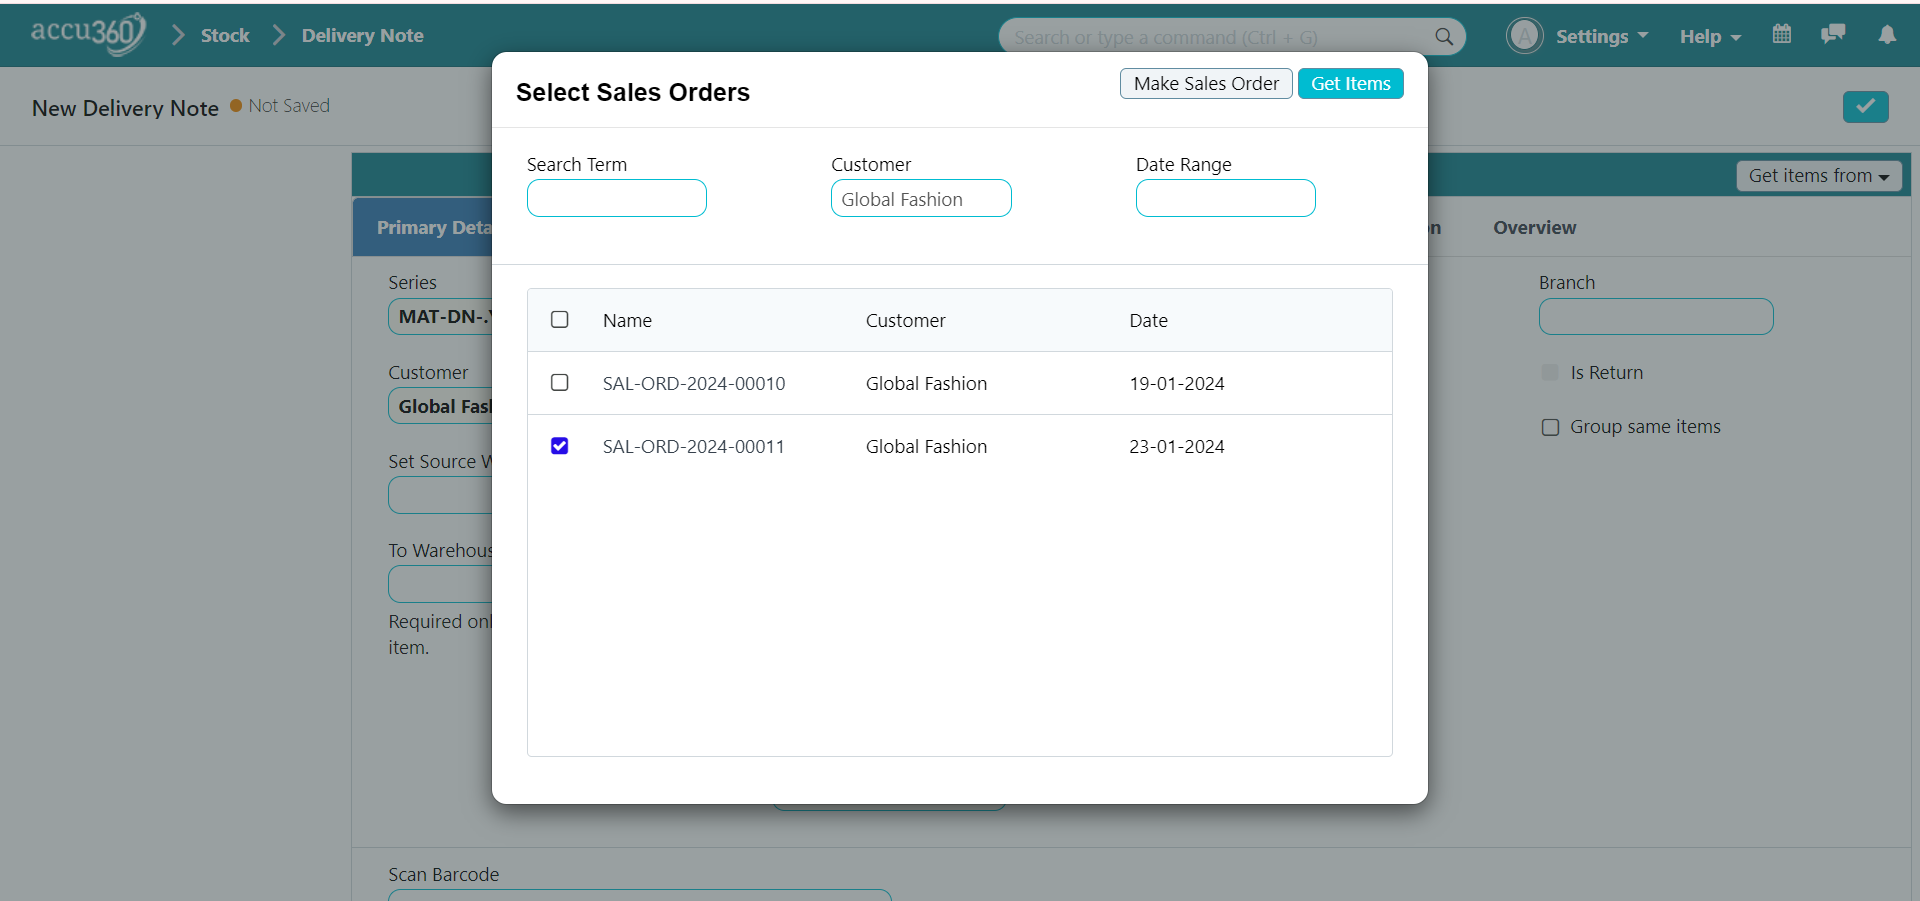
¶ STEP IV : Ensure pre - filled information
The system will auto - populate the Delivery Note with details from the selected Sales Order . Check & confirm the pre-filled information to ensure accuracy.
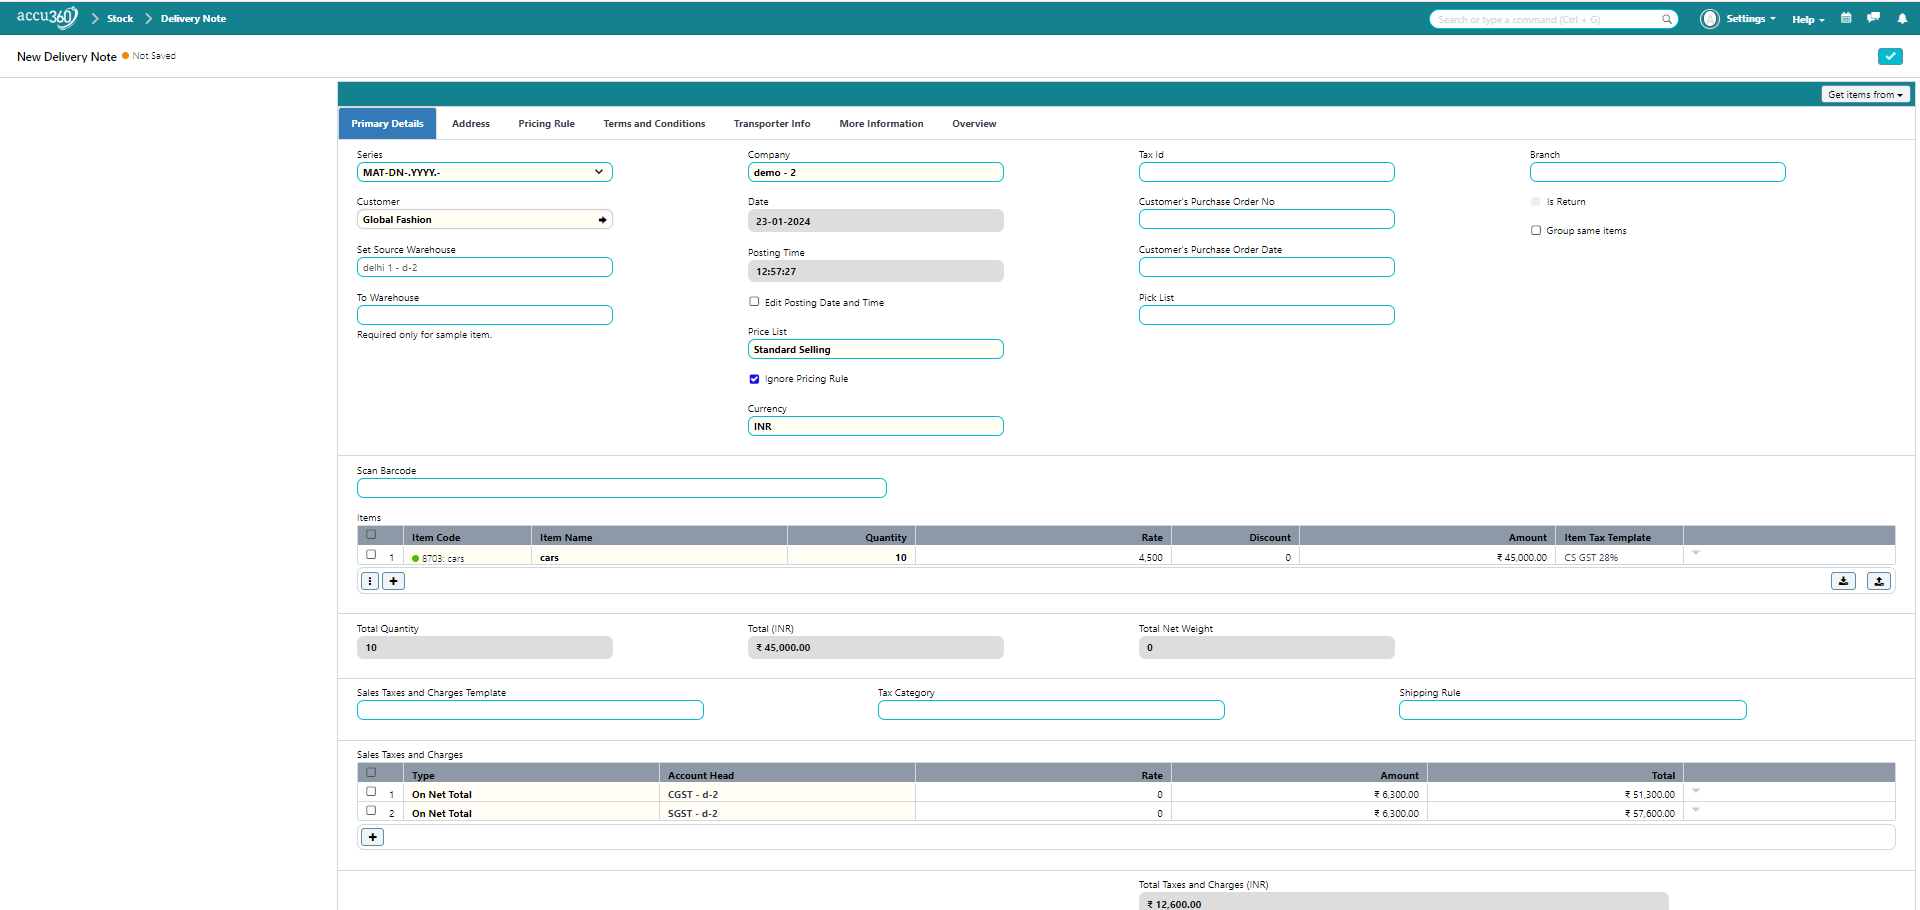
¶ STEP V : Save & Permanently Submit
Click the “TICK” icon to save all changes.
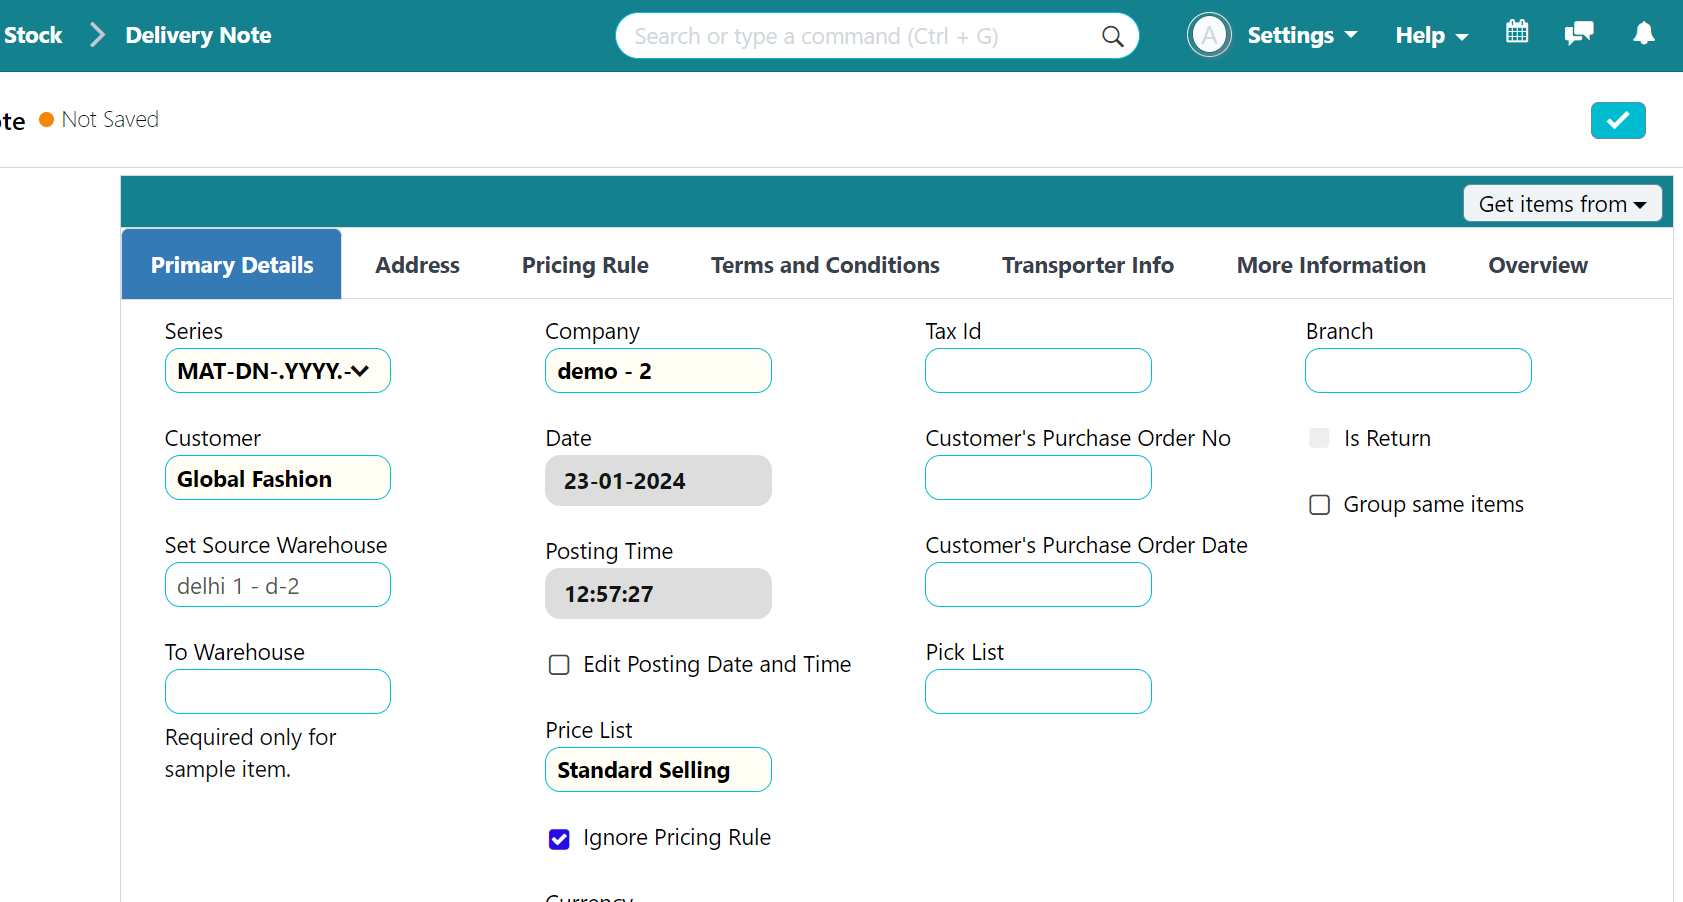
Note: the document is currently in draft mode.
To permanently save and modify your books of accounts, click the “LOCK” button.
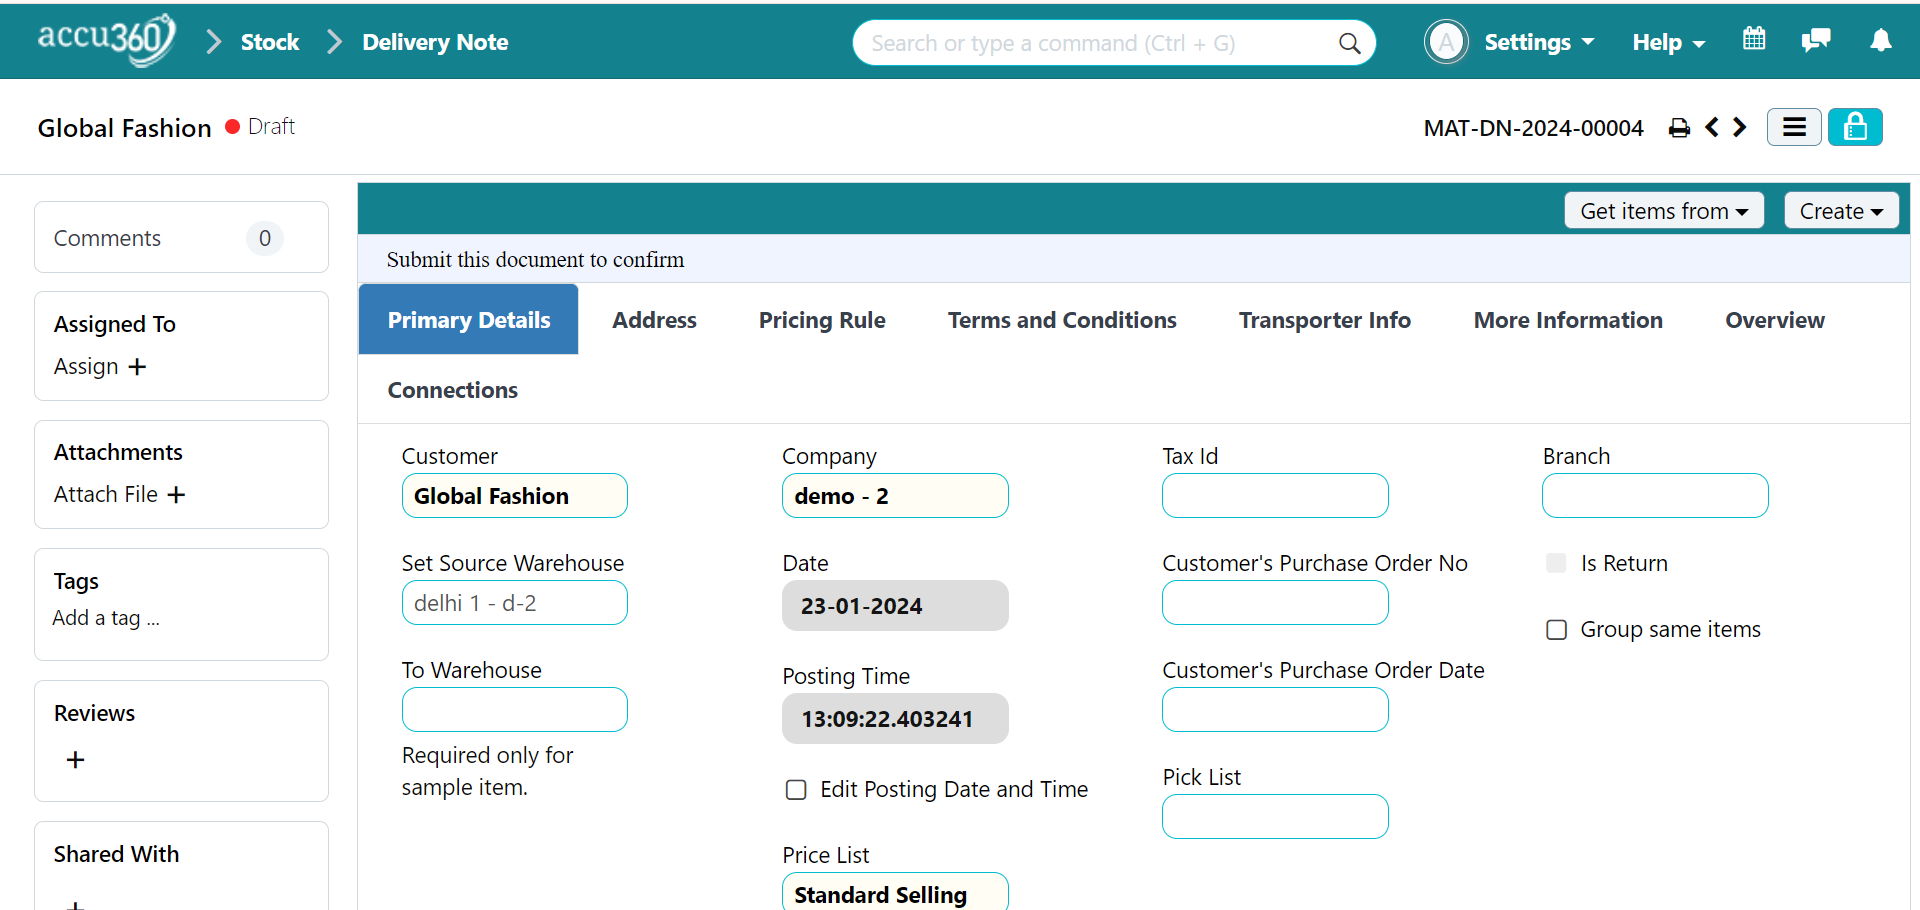
After clicking on “LOCK” button a prompt will appear click “YES”, another prompt “SAVED” as well as “DELIVERY NOTE SUBMITTED SUCCESSFULLY” will appear
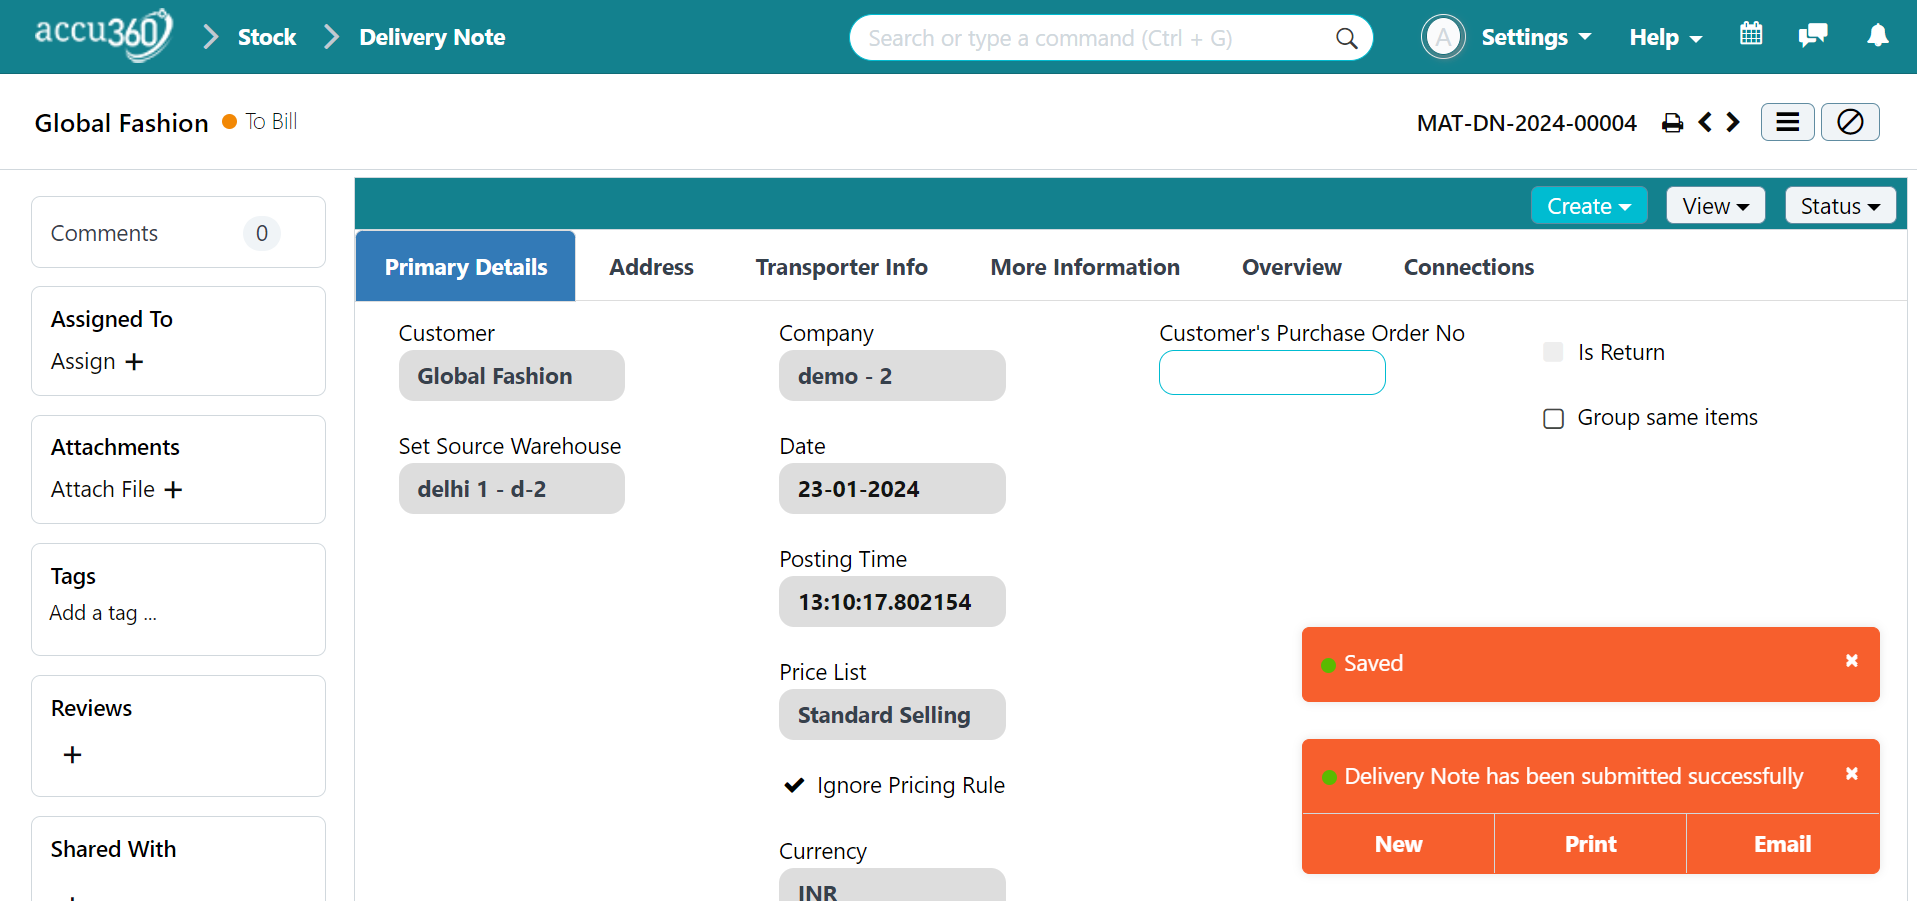
You can also click “EMAIL” to directly mail someone, “PRINT” to take a print Or jump to a “NEW” Delivery Note
¶ Other Necessary Information
-
ACCU 360 ERP will provide you with various pre-filled information according to your initial configurations and to make sure all the information is correct, always ensure to review all the pre - filled information. Please feel free to make necessary changes in case required or can seek advice from an ACCU 360 Consultant
-
“ CUSTOMER “ as soon as you start typing the Name of the Customer you can always see the available list of the customer , select the customer from there.
-
Select “ WAREHOUSE ” from where the goods are being supplied.
-
Tick the Box “ EDIT POSTING DATE AND TIME ” if you wish to change date or time according as it is Pre - filled with the date & time that are added by default when you started creating the Document.
-
If you have configured different price lists for various consumer types, select the appropriate price list from the “PRICE LIST” box.
-
Include specific customer details like "TAX ID”, "Customer’s Purchase Order No”, "Customer’s Purchase Order Date”,** and "Pick List”.
-
Select the branch “Branch” from where you wish to supply goods, if you have multiple branches in your organization.
-
CURRENCY is by default set For e.g. in India it’s INR. Change it if it is a forex Transaction.
-
In the " ITEM CODE " section, search for the item you need or use " + NEW ITEM " to add a new item.
-
The “ ITEM NAME ” will appear pre-filled along with the rate defined in the price list or you can add it manually. Add QUANTITY, RATE, & DISCOUNT, and the system will auto-calculate the total amount.
-
Select “ITEM TAX TEMPLATE” if you wish to charge different tax on different item or select “SALES TAX TEMPLATE” a single tax rate on all items, the tax will auto populate.
-
Provide additional information such as the address of your company and the recipient in the " ADDRESS " section, details of the transporter in the “TRANSPORTER INFO” section, and any other relevant information in the “MORE INFORMATION” section.